Azure
Whenever one of your integrated devices sends a signal to our broker, we republish the binary payload to the endpoint specified for its integration through Azure IoT Hub SDK.
Integrate your devices
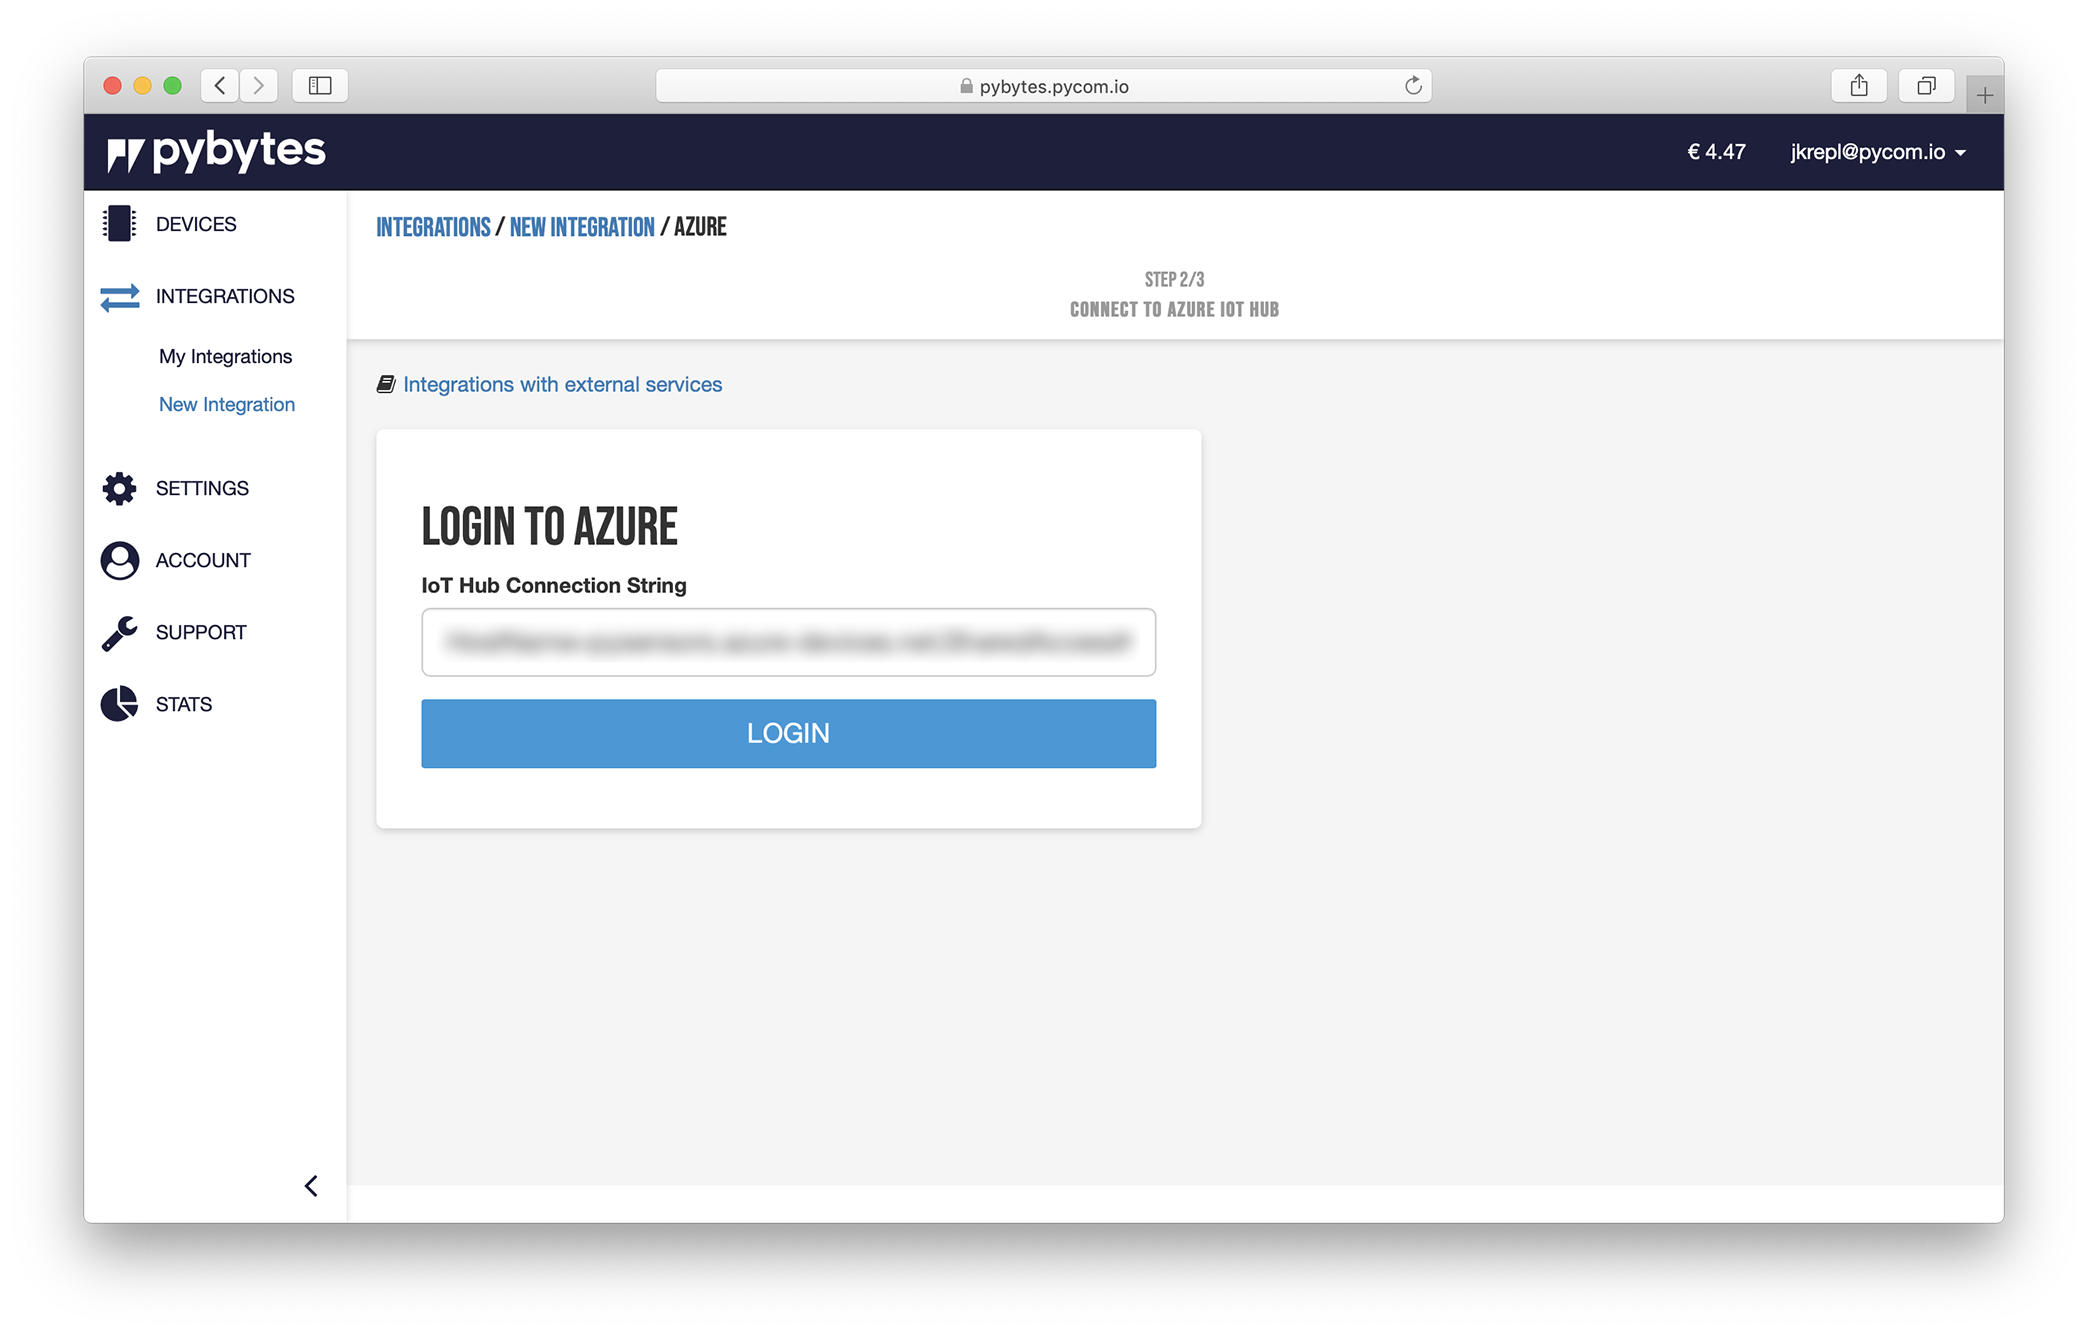
The first step requires you to create an IoT Hub. This is an Azure service that enables you to gather high volumes of telemetry data from your IoT devices. It then moves them into the cloud for storage or processing. In order to do that, follow the offical documentation. To summarise you’ll need to:
- specify your subscription plan
- create or choose a resource group. This contains resources that share the same lifecycle, permissions and policies. The name can contain alphanumeric characters, periods, underscores, hyphens and parenthesis. It cannot end in a period.
- choose a region
- choose an IoT Hub name (its length must be between 3 and 50, and it can use only alphanumeric characters and hyphens). It won’t be possible to change this name later.
- specify tier scaling and units
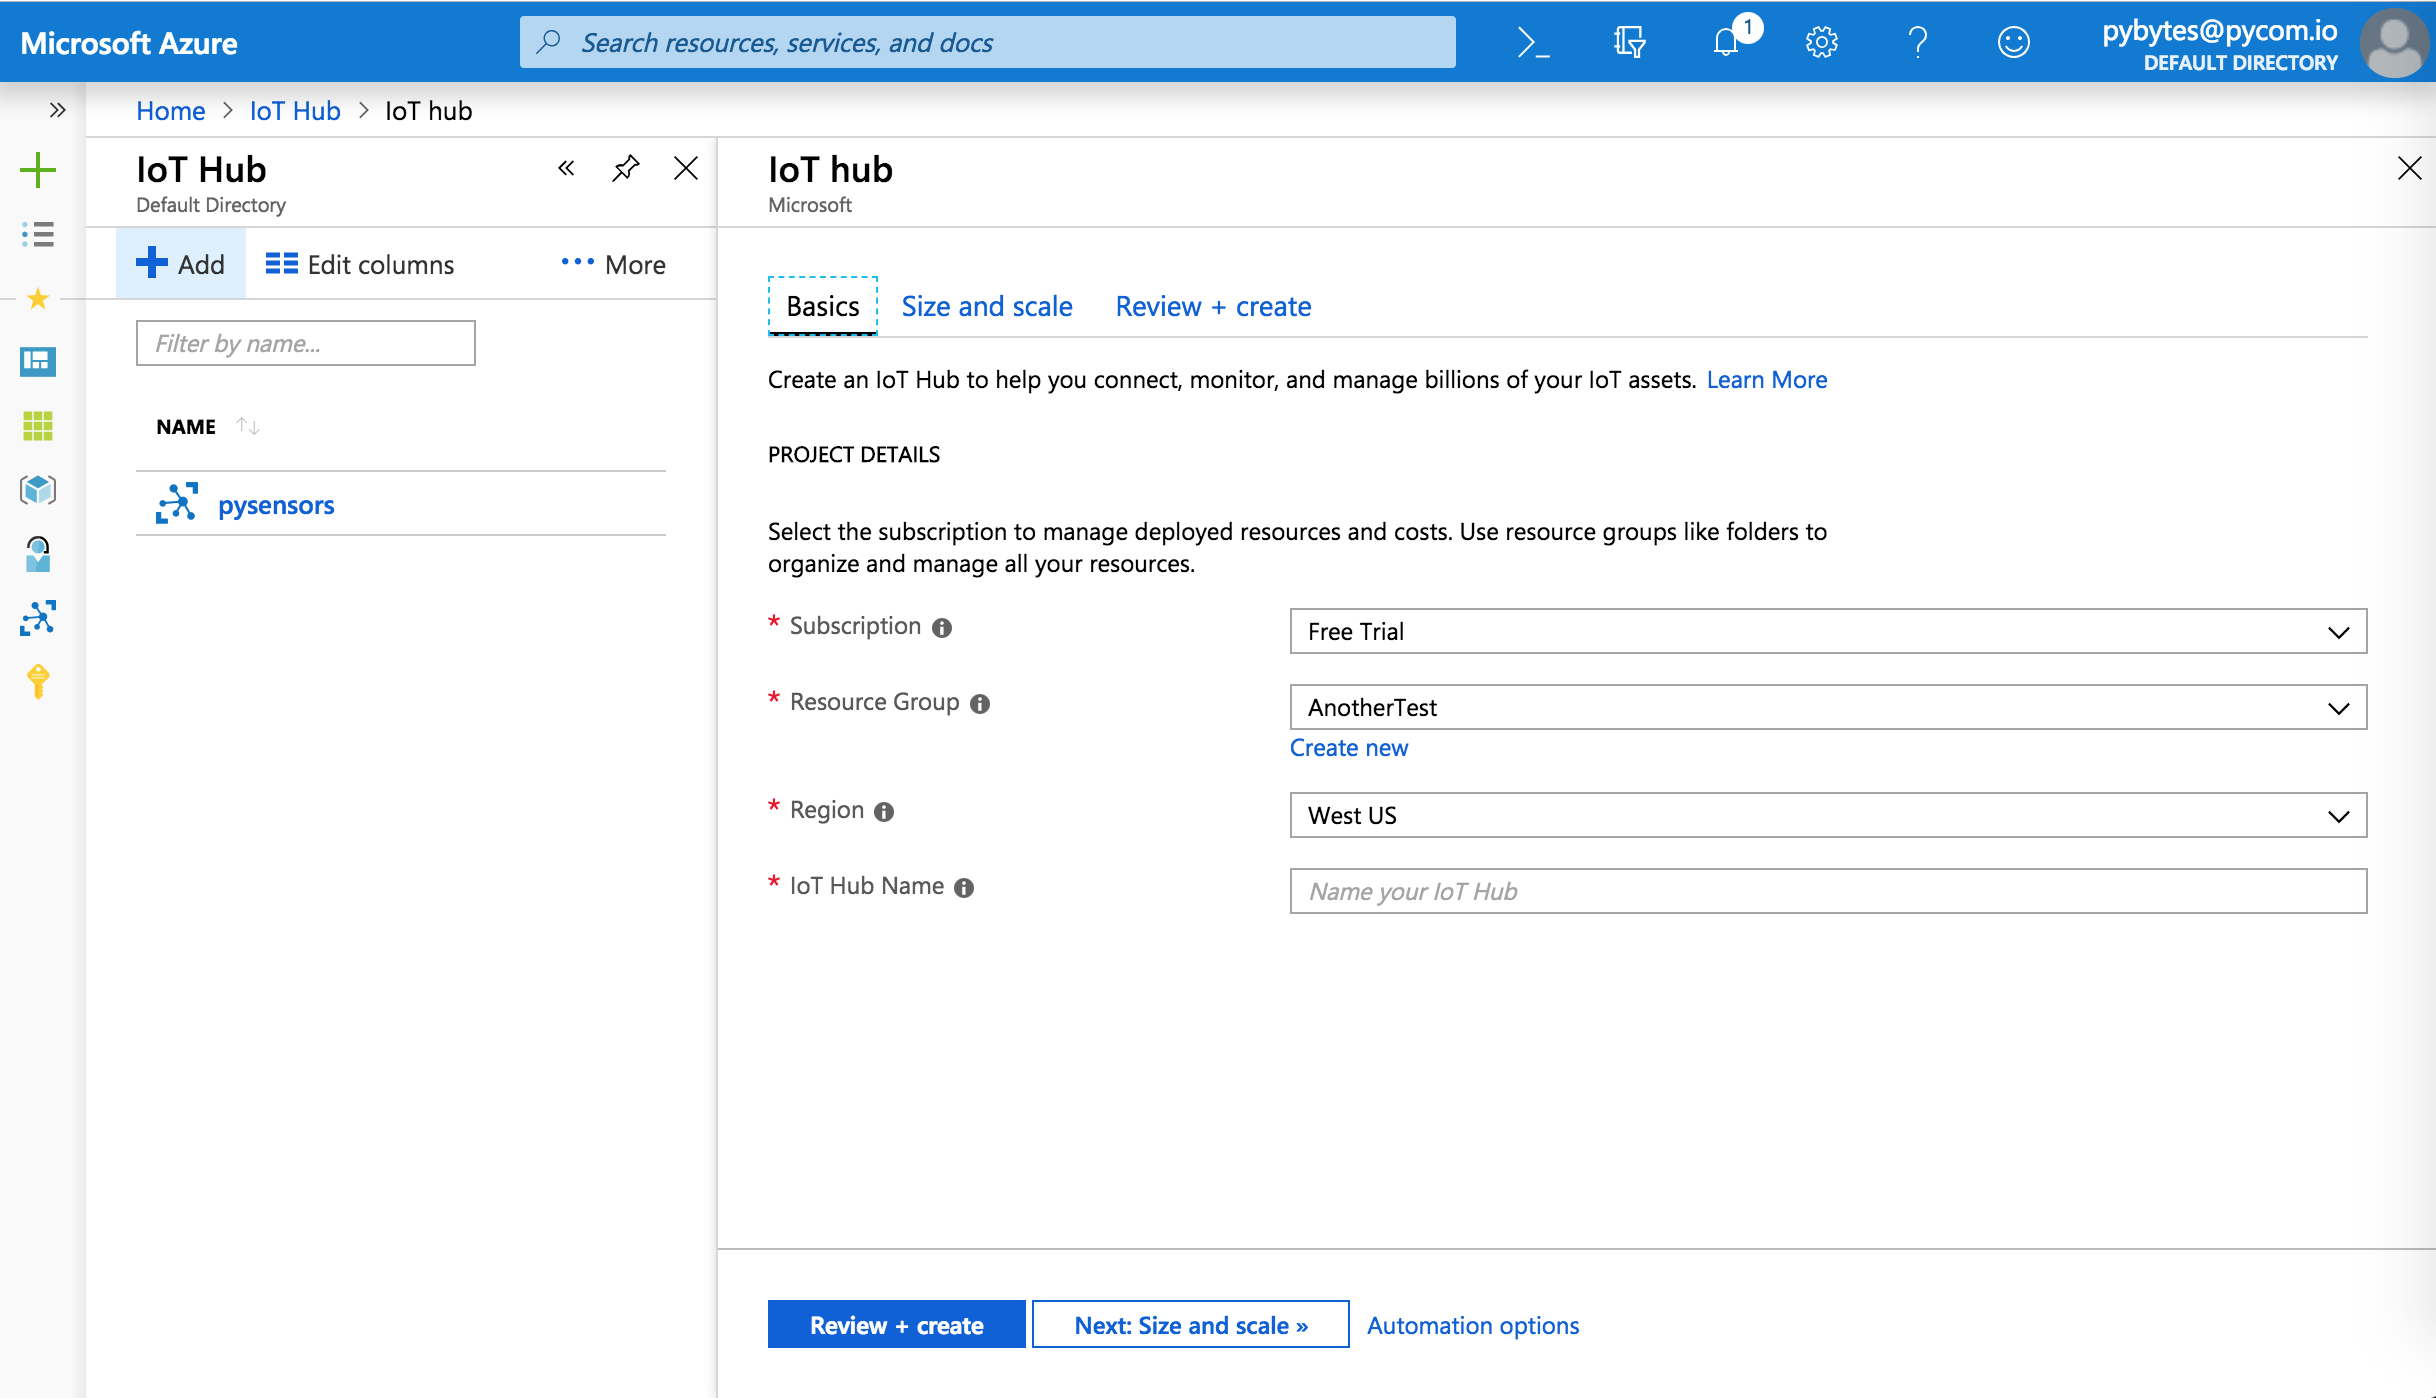
Now copy and paste the connection string with the privilege to write into the registry.
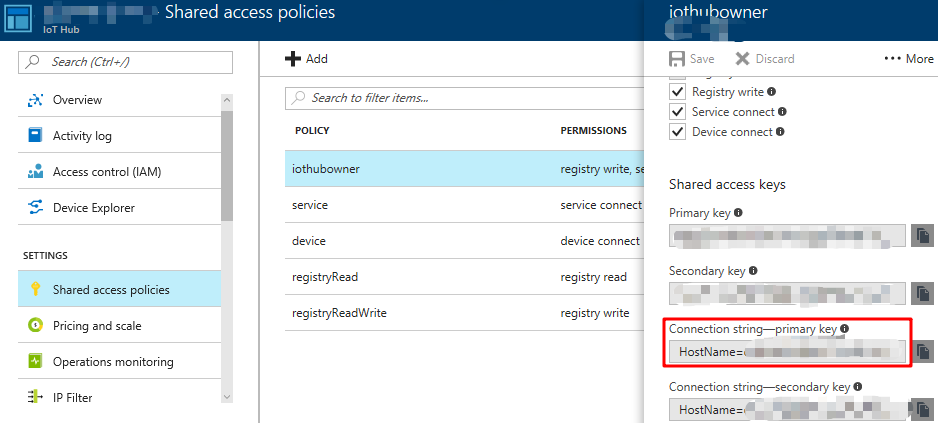
Go to Pybytes and click on Integrations > New Integration and choose Microsoft Azure.
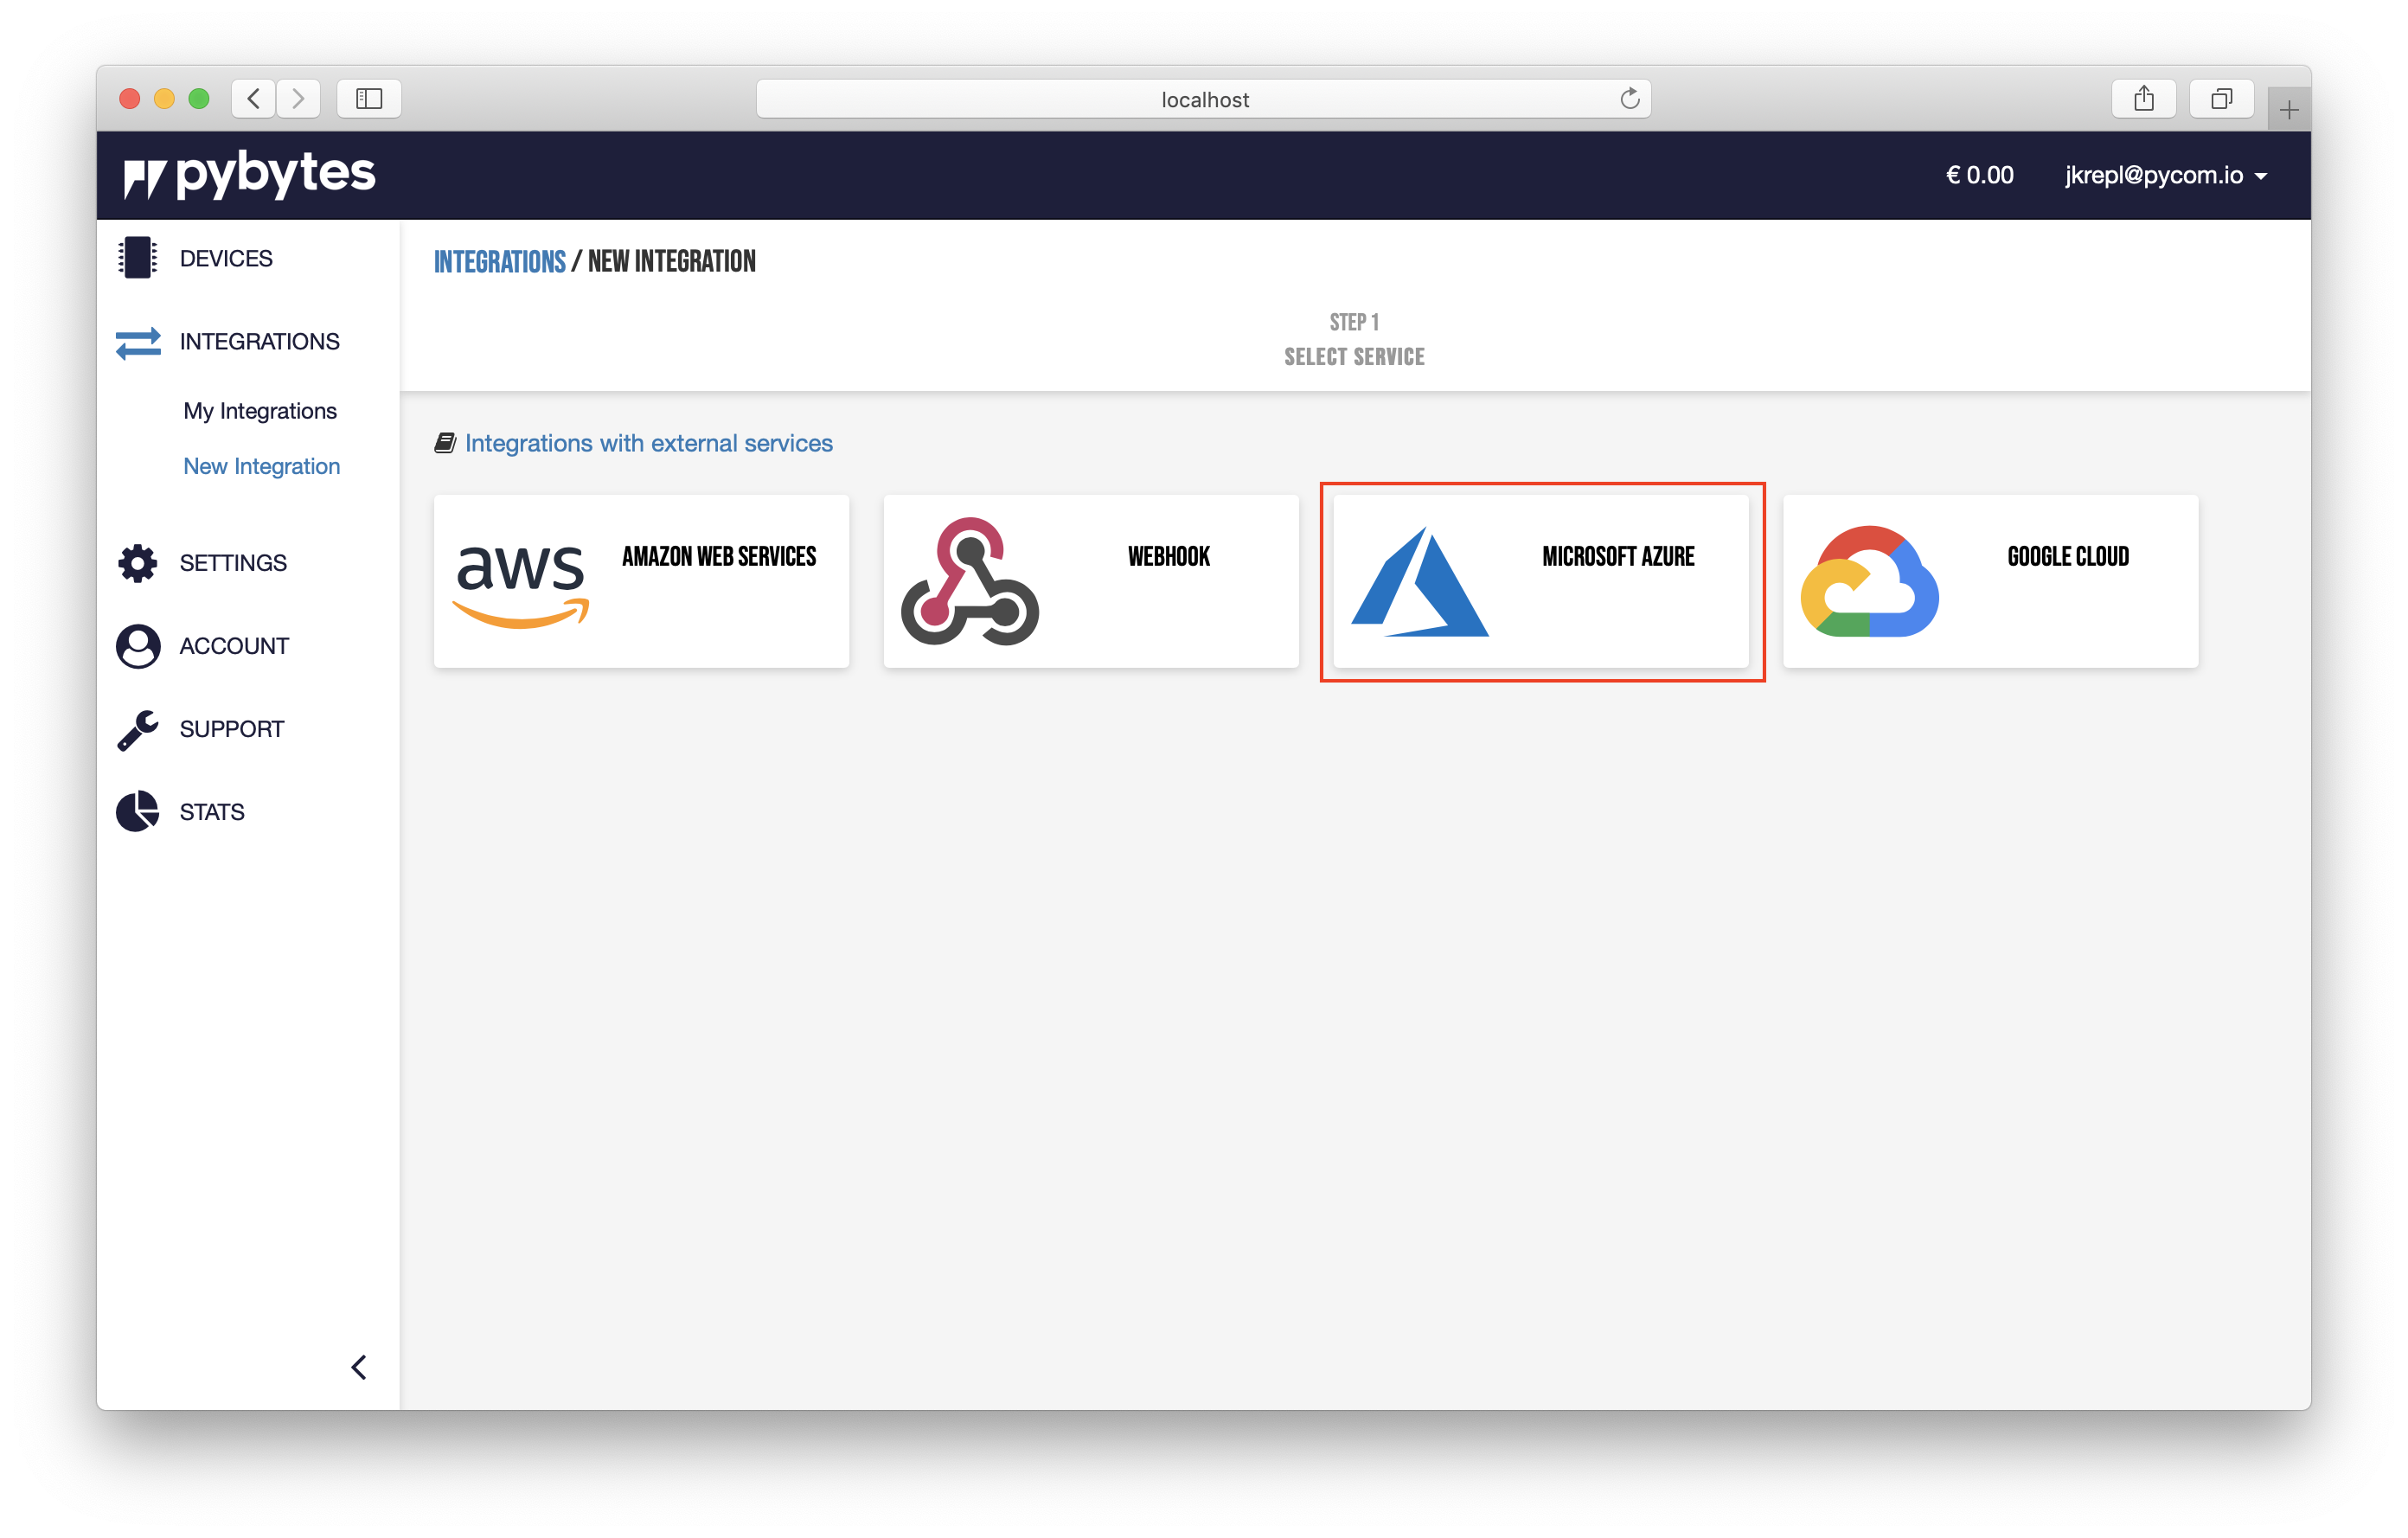
Paste the IoT Hub Connection String copied from the previous step and click on Login button.
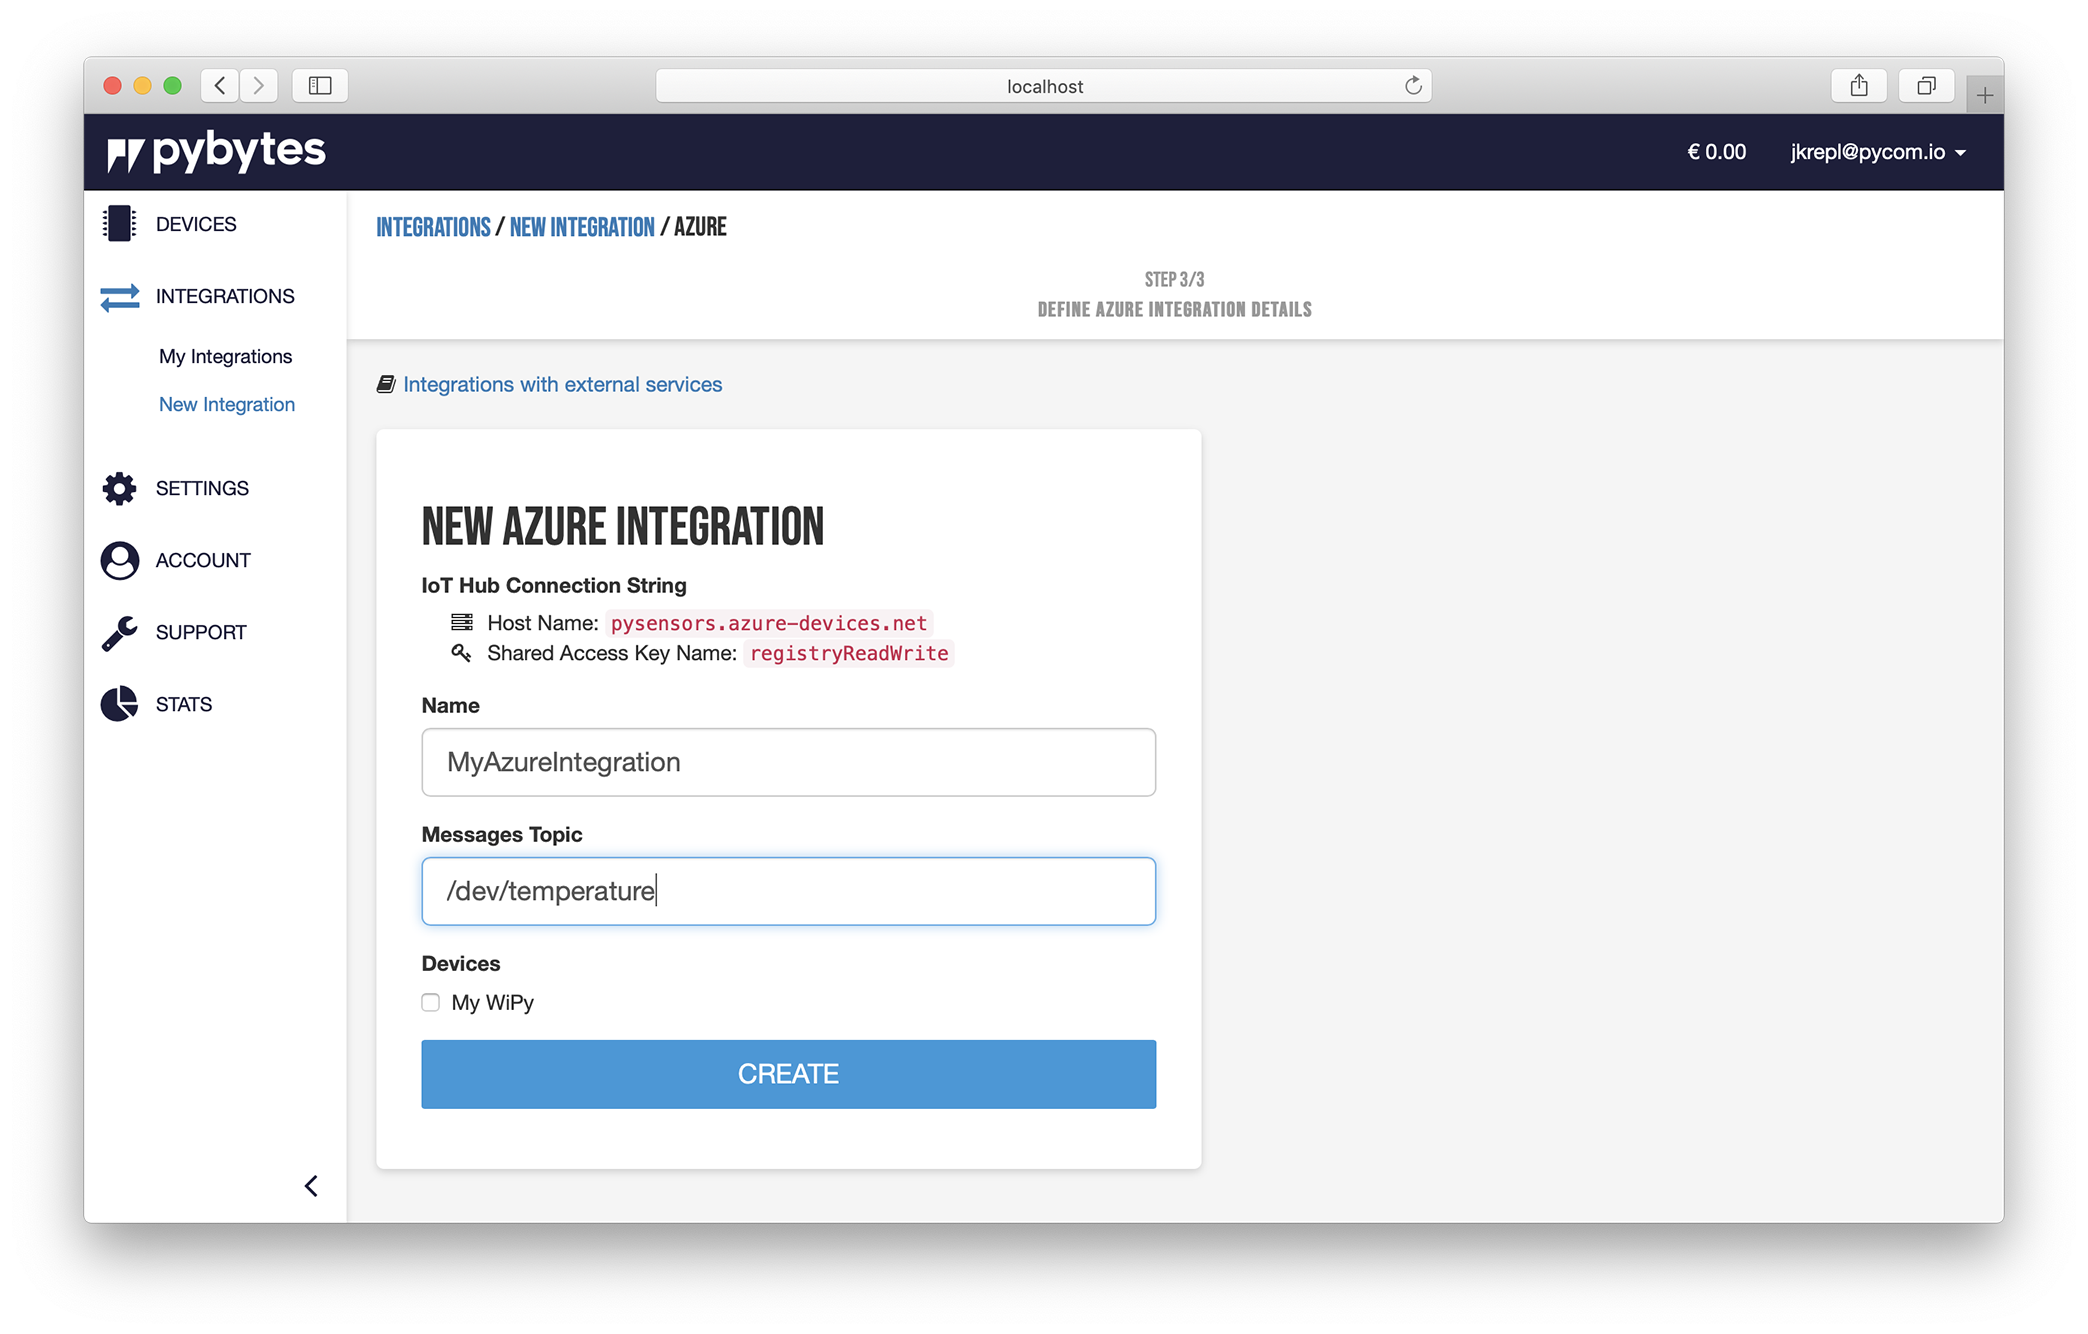
This step requires you to create a custom MQTT topic and the devices you want to bind to this Azure IoT hub. All the messages sent by your devices will be republished to the Azure’s MQTT broker with the topic specified here. When you’re ready, click on the Create button.
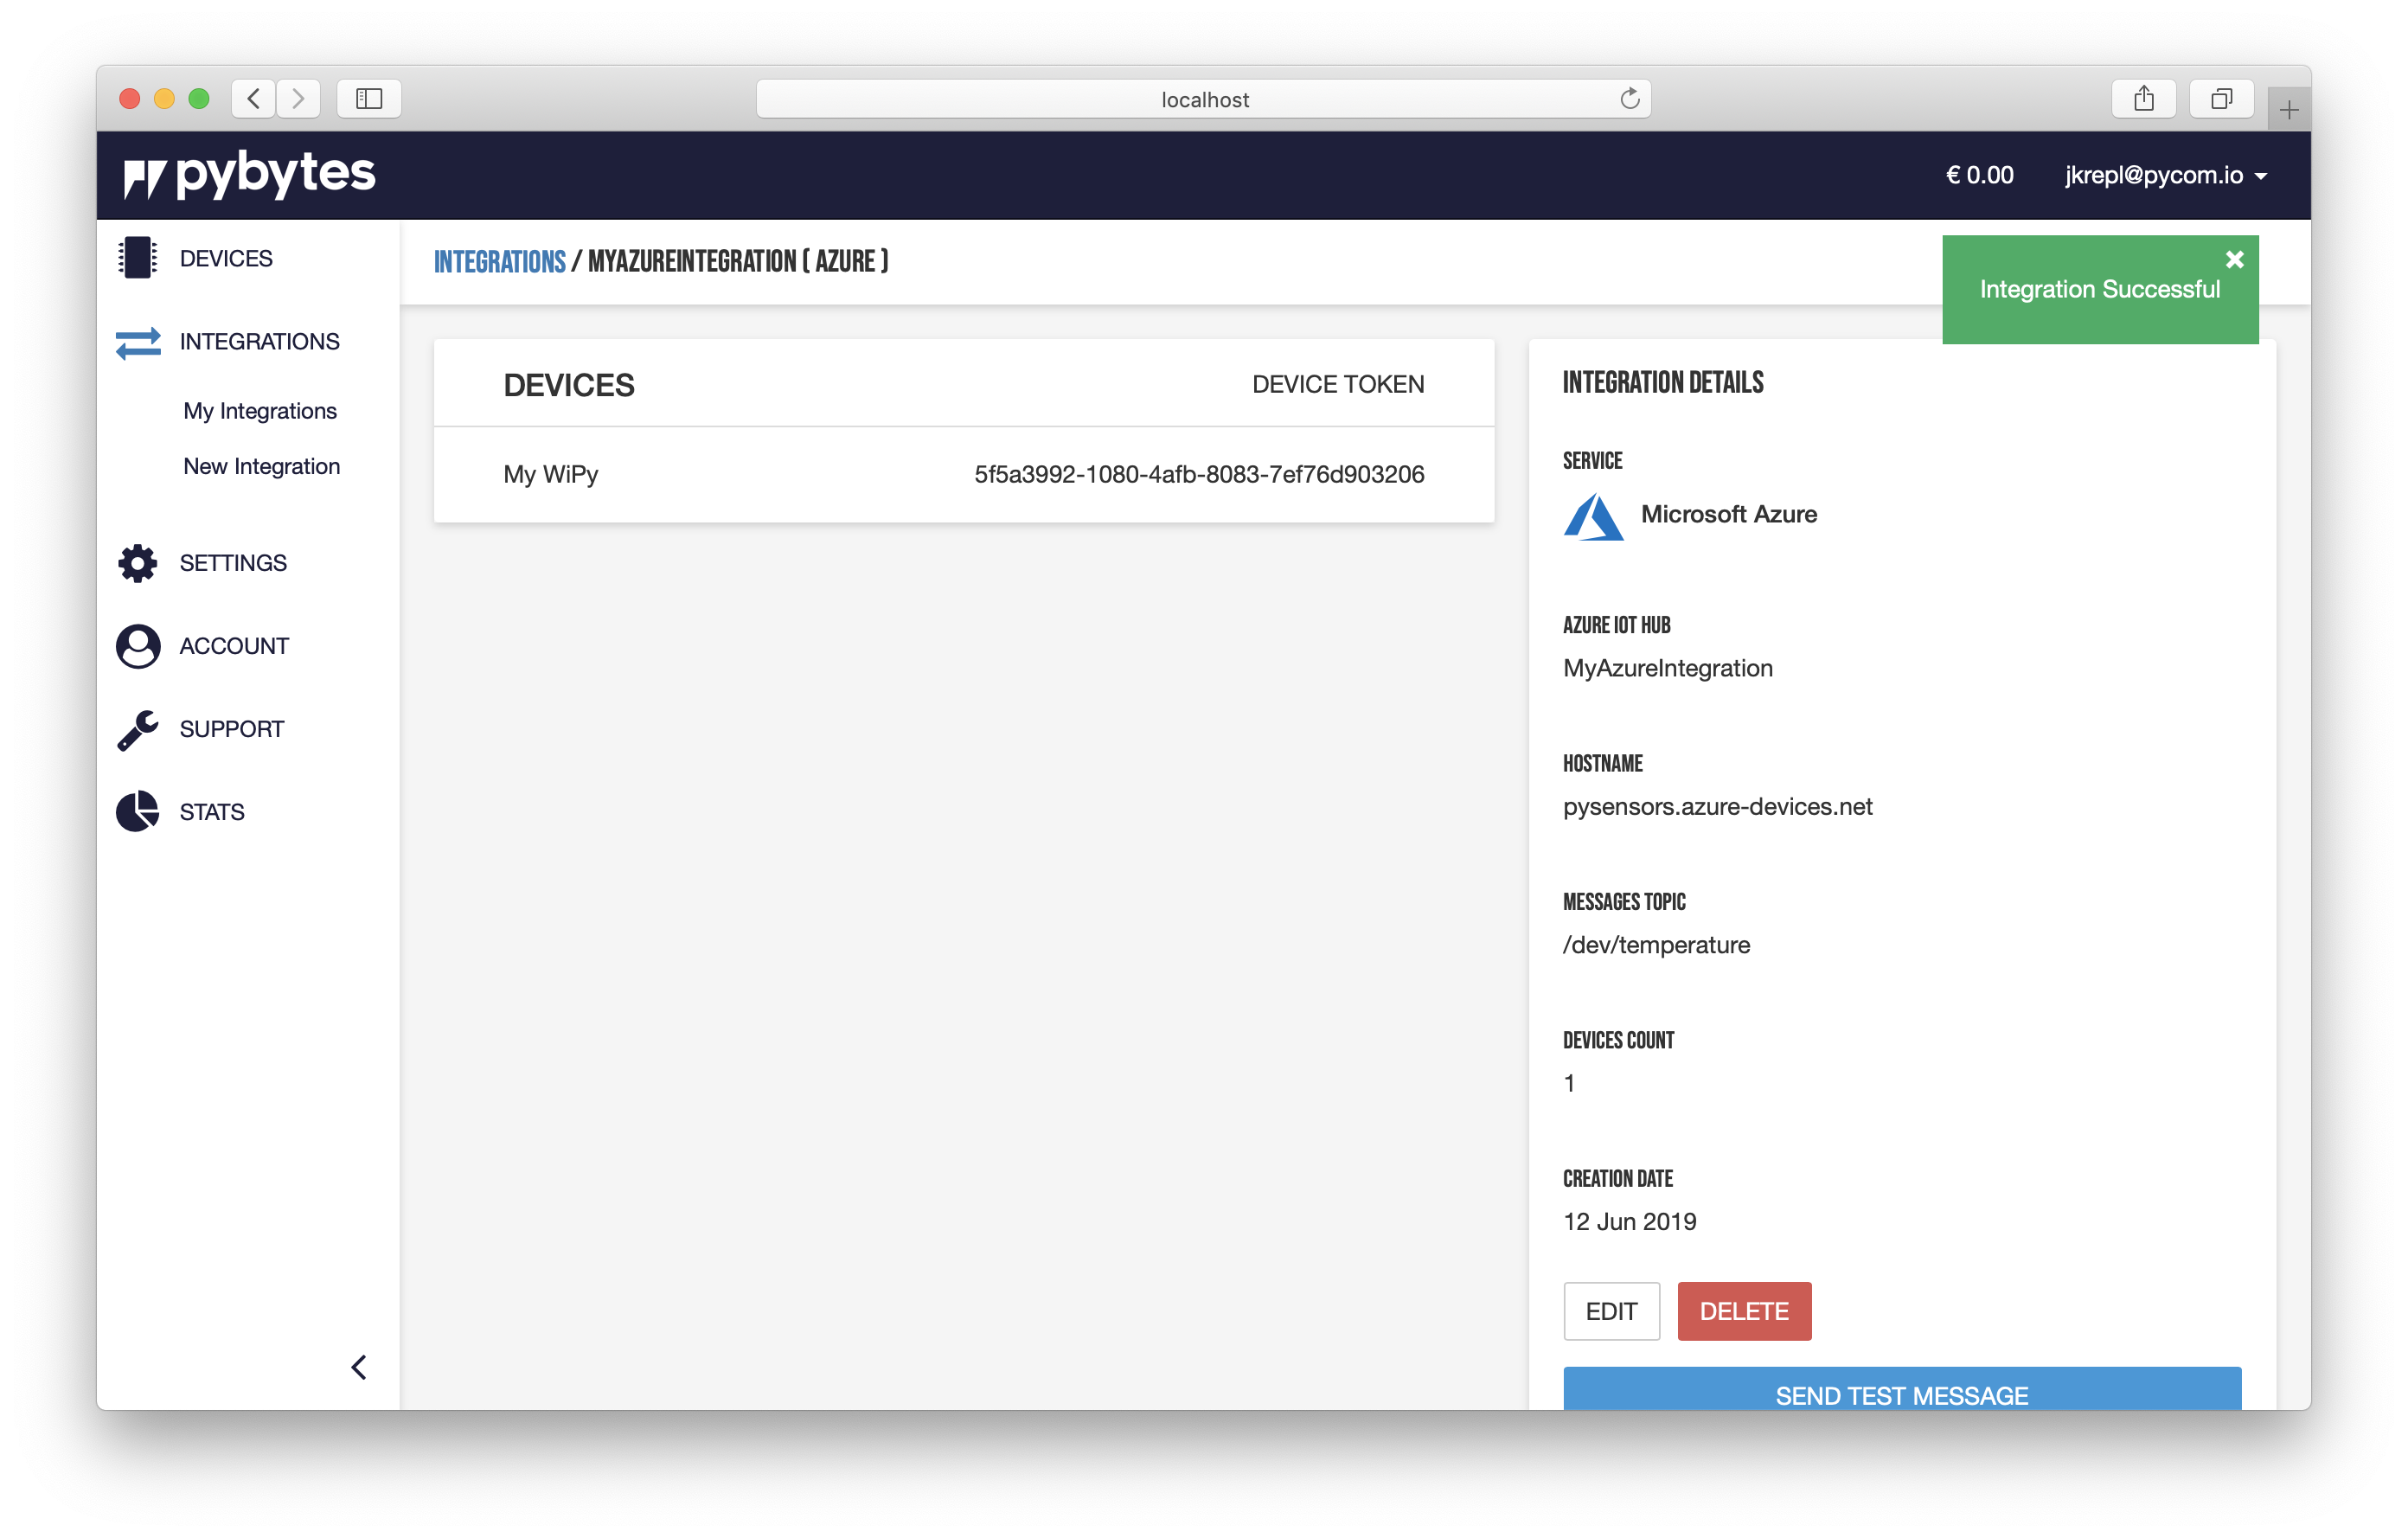
If everything’s working as expected, you should be able to see a summary of your integration similar to the following:
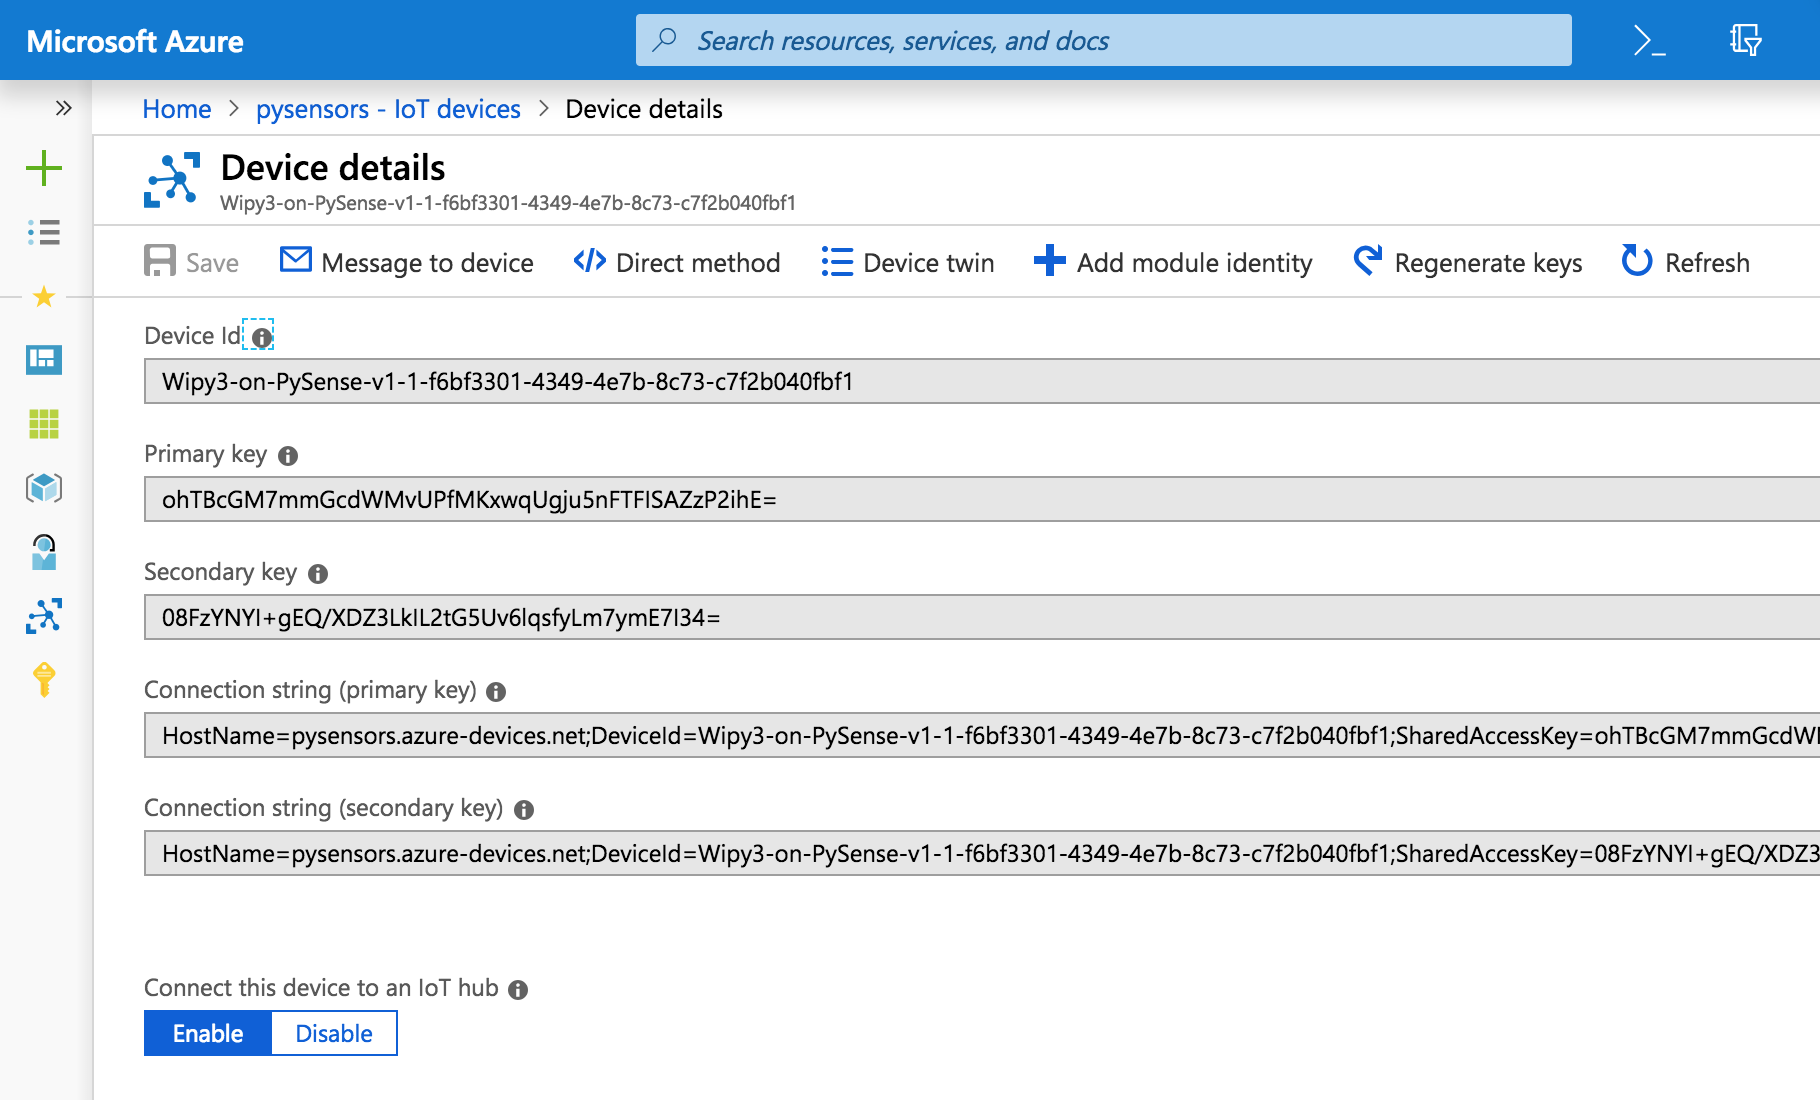
The corresponding device has been created in Azure as well, you just have to log in to the portal, click on its IoT Hub and then click on the device just created. You should be able to see all the device’s details, also the connection string which will be saved encrypted in our database and used to republish your data to your Azure IoT Hub.
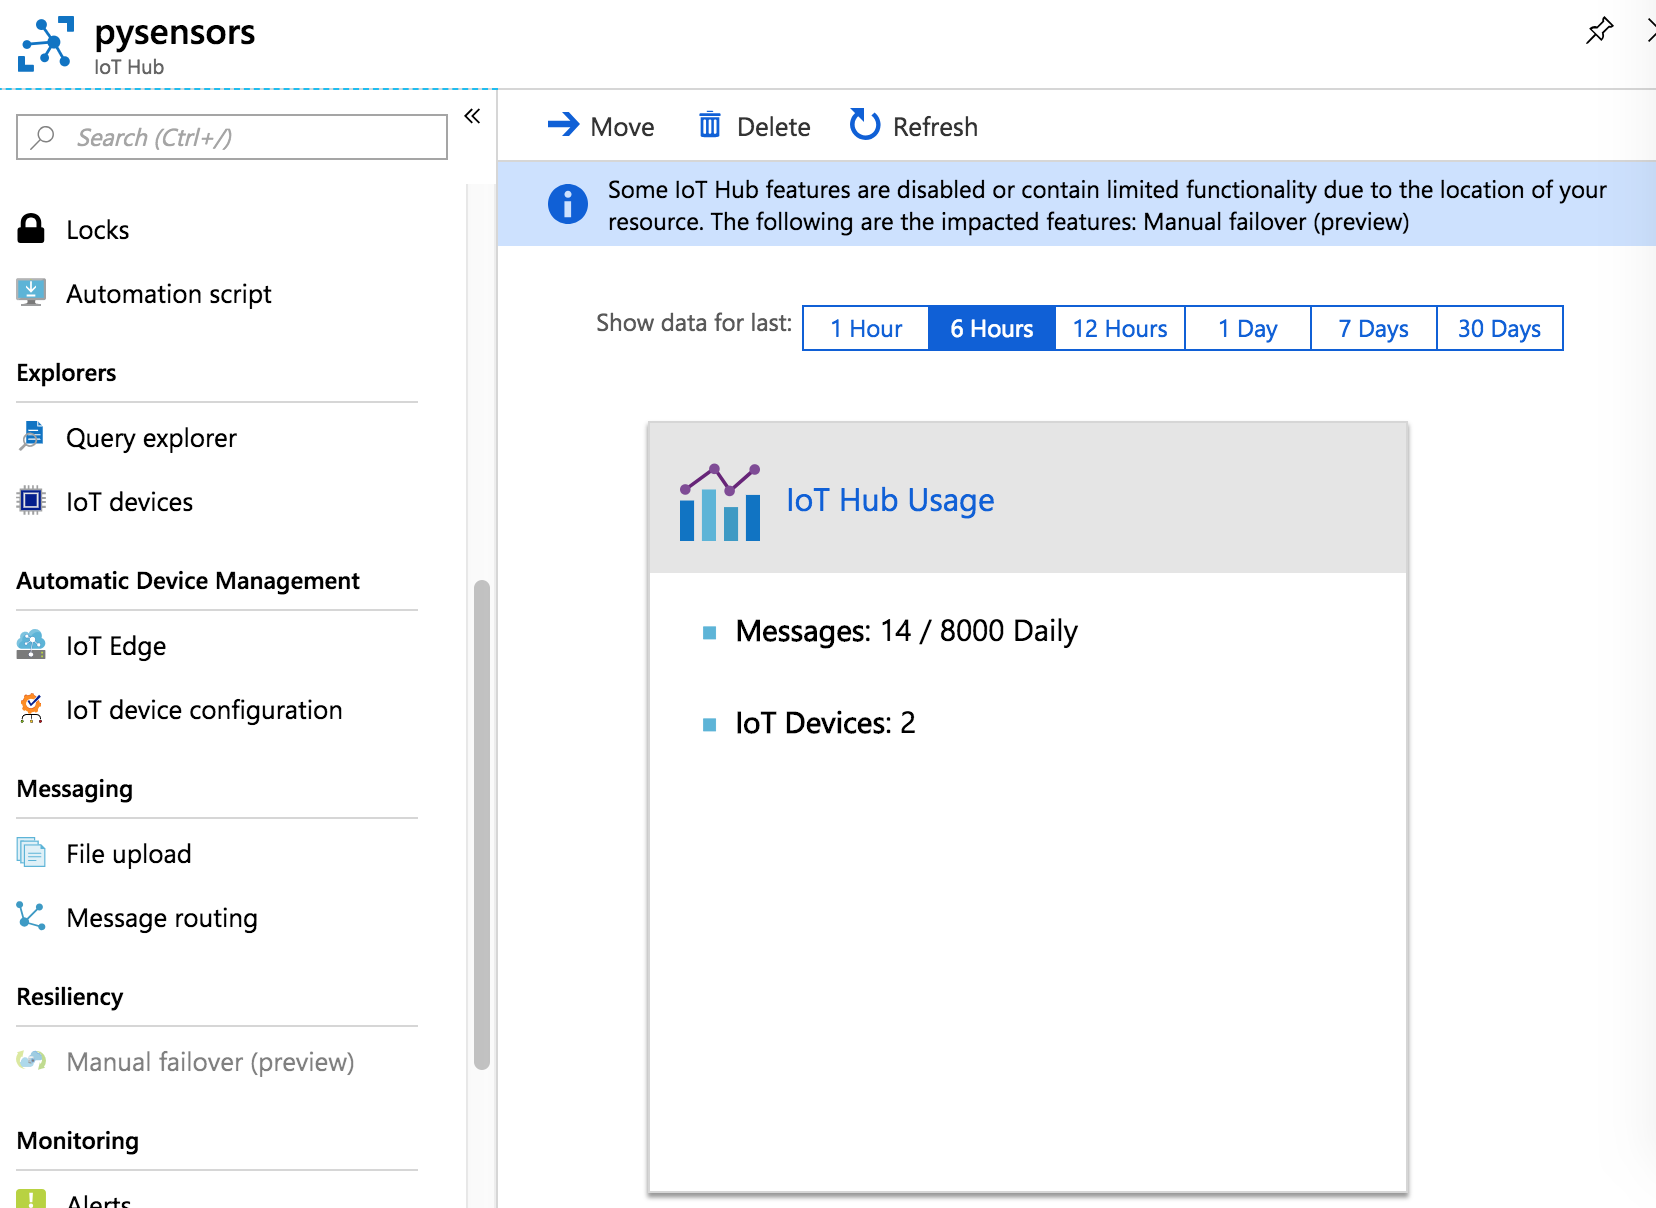
Try to send some signal messages with your device. You should be able to see in the dashboard that the system has received them. More information on the testing device’s connectivity could be found here.
Final considerations
In order to see the data sent to Azure, you could do different things, depending on the scope of your work. Please refer to these official examples:
- Visualize real-time sensor data from Azure IoT Hub using Power BI
- Visualize real-time sensor data from your Azure IoT hub by using the Web Apps feature of Azure App Service
- Read the telemetry from the hub with a back-end application (Node.js)
- Configure message routing with IoT Hub
Warning: do not delete Azure devices directly from Azure user interface, otherwise the integration with Pybytes will stop working. Always use Pybytes interface to delete Azure devices.