Pygate
Store: Buy Here
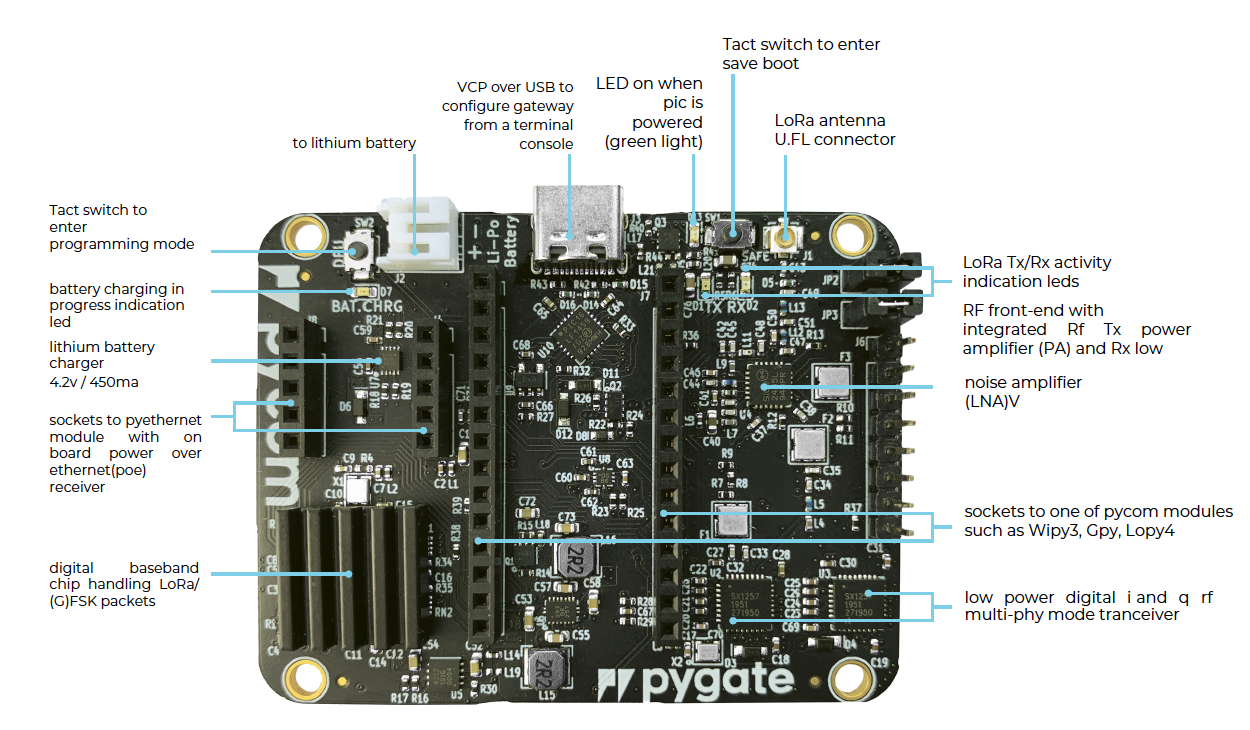
The Pygate is an 8-channel LoRa Gateway
Getting started
- Upload the latest stable
pygatefirmware release using the firmware updater. - Follow the tutorial to get your Pygate up and connected to The Things Network.
Features
Datasheet
The datasheet of the Pygate Board is available as a PDF File.
Case Assembly
Assembly of the Pygate case is very easy, and exists of a bottom half, a top half, 4 screws and 2 button inserts.
First, insert the Pygate board, without a -py module into the bottom half of the case. You can recognize the bottom half as the part without writing and cutouts for the SD card holder and USB-C connector. Orient the Pygate board such that the USB connector lines up with the similar hole in the case. Once the board is flat in the case, insert the button extenders on the buttons. The long flat side should be inserted in the similarly sized holder in the case.
Note: The button extender will only go in one way, do not force it into place!
Insert the -py module into the Pygate board, with the reset button and RGB LED over the USB connector. If applicable, insert the PoE adapter into the correct slot, with the ethernet port facing the other way compared to the USB-C connector. Attach the LoRa antenna connector wire to the top half of the Pygate case using one of the four cutouts, with the SMA connector facing outwards, using the included nuts. Then, attach the LoRa antenna to the Pygate board’s U.FL antenna connector in the top right. Now connect any other peripherals as you wish.
The Pygate case supports up to 4 antennas and has space for a small battery when not using the PoE adapter board.
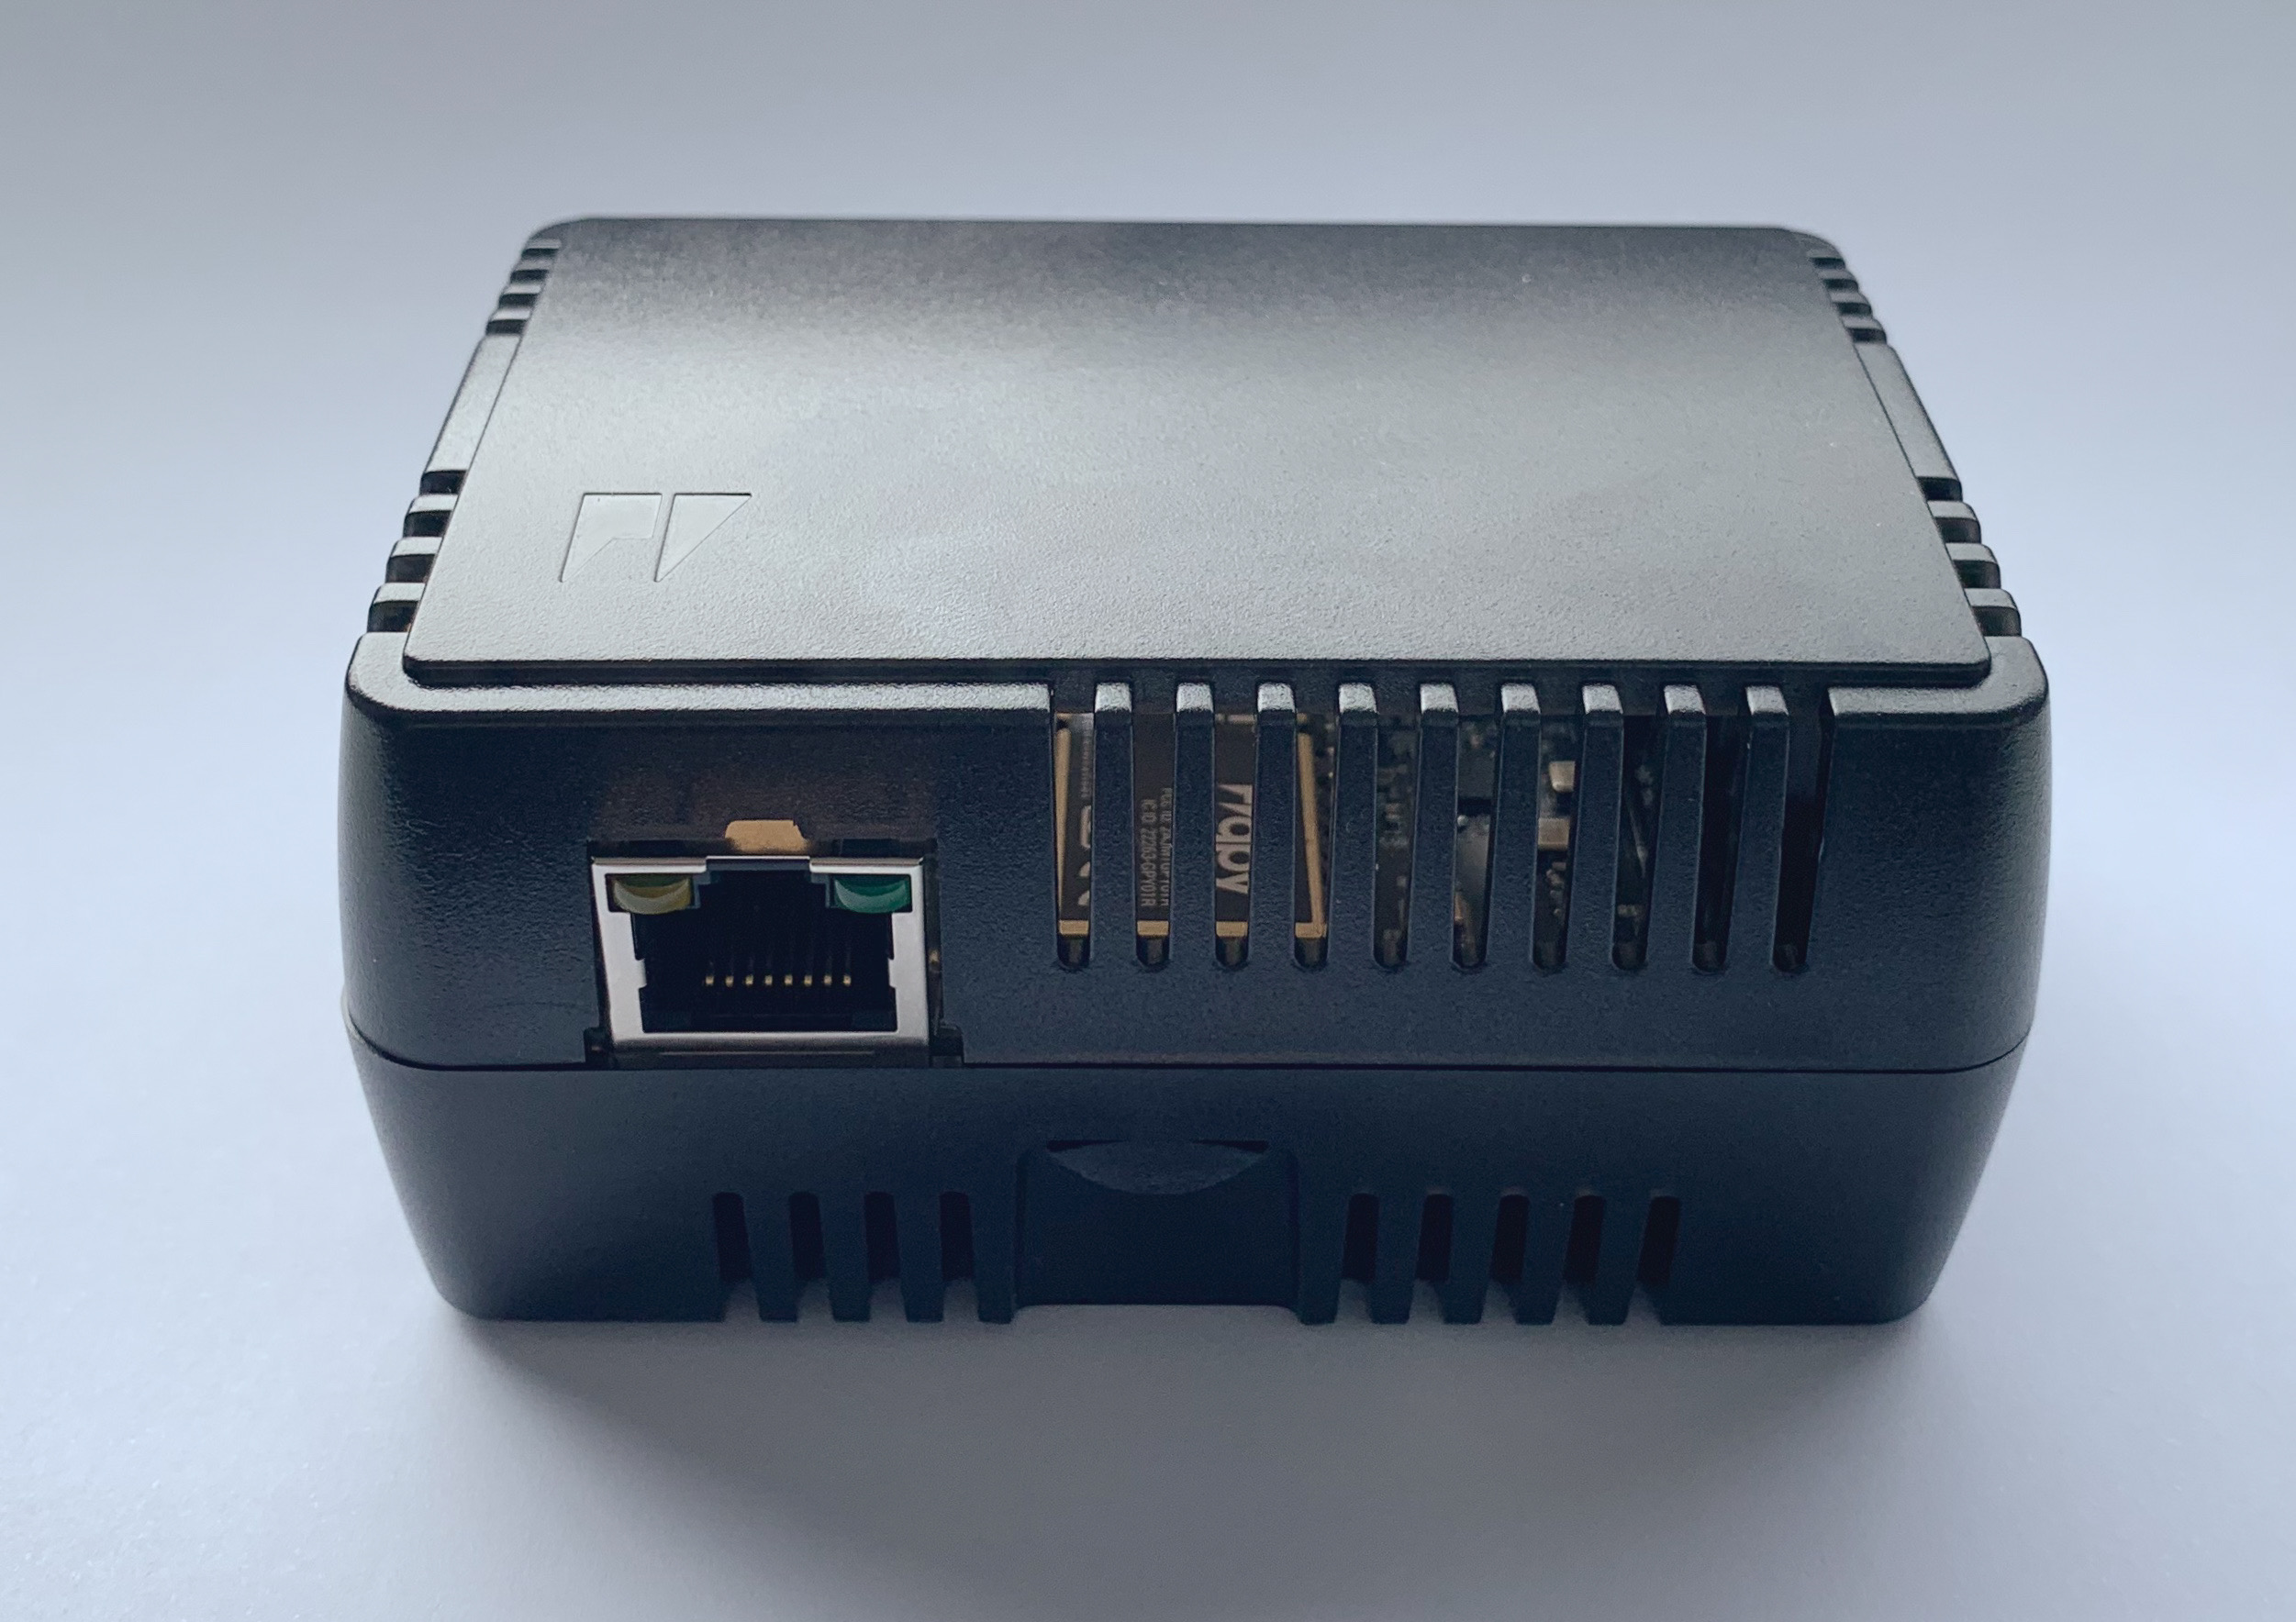
If applicable, remove the ethernet port cutout from the top shell of the case. Carefully position the top shell over the bottom shell, and screw in the 4 screws from the bottom. Do not overtighten the screws, as that could break the case and renders the buttons unusable. Now, attach the antenna(s) to the SMA connector(s) and upload code!
On the back, there are two screw inserts to attach the case to a wall.
 The case will also work for the regular expansion board and has the SD card holder accessible from the outside.
Notes
Battery Charger
The Pygate features a single cell Li-Ion/Li-Po charger with a JST PHR‑2 connector. When the board is being powered via the USB-C connector, the Pygate will charge the battery if connected.
Make sure you check the polarity of the battery before plugging it in! Connect the positive side to the side marked with a
+.
Troubleshooting
-
If PIC stays in bootloader mode, the
dfu-utilupdate should be performed -
If
machine.callback()gives an error, update your -py device with thepygatefirmware.